In early August I tried my hand at my newly acquired CCD camera, and above all at manipulating the resulting image. This small report describes all my different attempts to yield the best rendition of M20 (Trifid nebula)’s wispy outer regions. Here’s what I consider my best result yet:
Being an amateur astronomer since my early youth, I am certainly not the “new kid in town” as far as film or DSLR imaging and image processing is concerned. However, dealing with CCD is another ball game, and I consider myself a real rookie here 🙂
In May 2007 I acquired an Atik 16HR CCD, which in my opinion offers a very nice price/performance tradeoff, and can be considered as a good entry level camera with 1.4 megapixels.
Due to weather and time constraints, I managed to get my first crack at CCD imaging only in July/August 2007. As a starter, I opted to try my hand at a bunch of relatively easy nebulae (in the order: M27 Dumbbell, M20 Trifid, NGC7293 Helix). In particular M20 was chosen to try also LRGB imaging, but after acquiring luminance and R, G channels, clouds rolled in and screwed up my attempt.
As everybody knows, also the offline processing phase is very important to get the most out of the raw signal acquired in the field. And of course, I am aware there is no magical processing recipe: rather, every combination of CCD, instrument, target, observing conditions, filters used, etc. calls for its optimal processing to be found out.
So, I tried my hand at the luminance channel of M27, by applying a bunch of different techniques, which I just came up with while fiddling with image processing programs. Here are the details on the raw data:
- Five 6-minute exposures taken through a Skywatcher ED80 refractor;
- A single 6-minute dark frame taken at the end of the previous sequence.
- Mainly Maxim DL 4.5 used for processing, while Photoshop CS2 employed for cropping and conversion
All images were manipulated at 16-bit depth, and finally rescaled down to 8-bit depth for JPEG conversion and web presentation.
Raw FITs
For those of you willing to try, here are the original composite fits:
- For attempts #1, #2 and #3 (composite of the five exposures with dark frame subtraction): click HERE
- For attempt #4 (composite of five exposures with individual dark frame subtraction + Log/MaxPixel stretch): click HERE
Please be warned that, though these files are zipped, they are quite hefty (1 to 2 megabytes)!
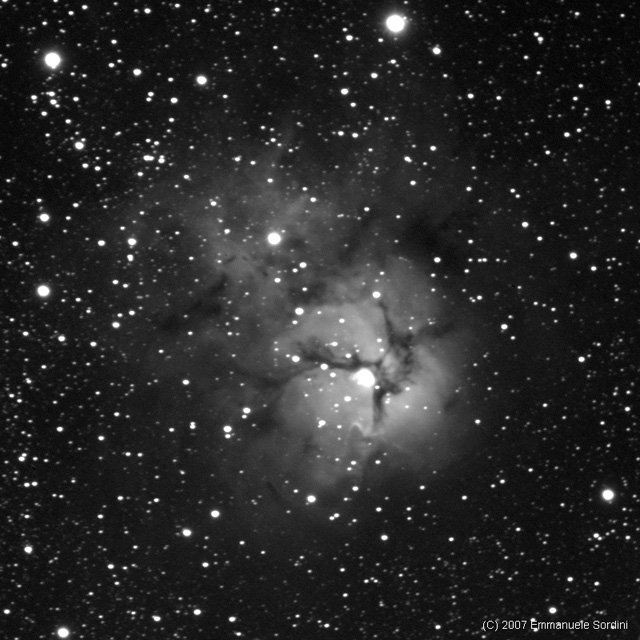
Attempt #1
Processing steps:
- For each exposure: dark frame subtraction
- For all exposures: combination (alignment + average)
- For the sum exposure: screen stretch
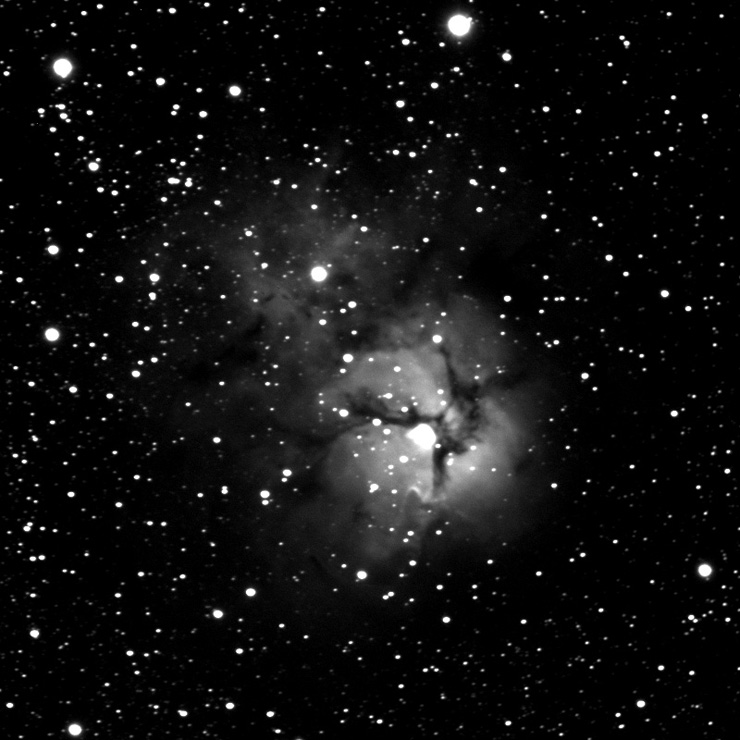
Attempt #2
Processing steps:
- For each exposure: dark frame subtraction
- For all exposures: combination (alignment + average)
- For the sum exposure: curves (midtone enhancement)
- For the sum exposure: screen stretch
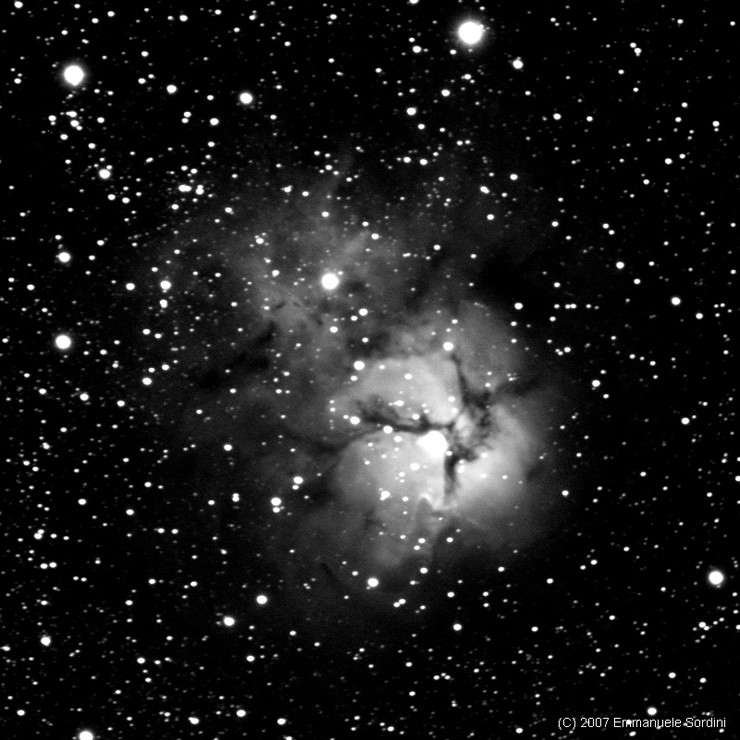
Attempt #3
Processing steps:
- For each exposure: dark frame subtraction
- For all exposures: combination (alignment + average)
- For the sum exposure: Digital Development (FFT-low pass, FFT hardness set to hard)
- For the sum exposure: screen stretch
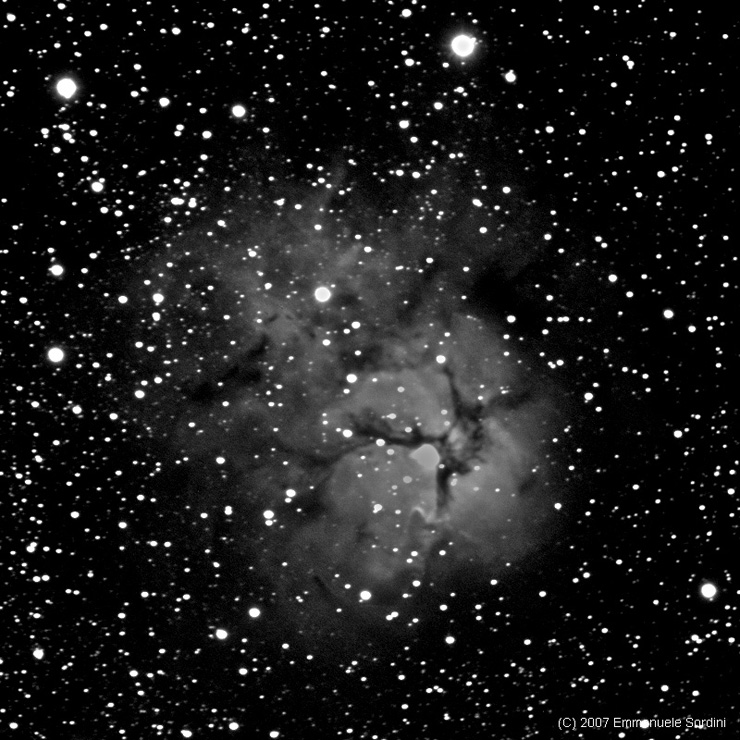
Attempt #4
Processing steps:
- For each exposure: dark frame subtraction
- For each exposure: picture stretch (Log, Max Pixel)
- For all exposures: combination (alignment + average)
- For the sum exposure: screen stretch

Conclusion
On the whole, I think the 4th processing attempt came out the best, because it allowed for bringing out the faintest nebula’s outer regions while not burning out the core. Of course, any suggestions on this technique and possible enhancements are most welcome!