It’s been a while since I last posted some content on my website. This, however, doesn’t mean my astronomy activity has ever stopped. Actually, there’s a lot coming up, even if most projects of mine have been put on hold by the COVID-19 outbreak that’s turned the whole world upside down.
The period between February and March 2020 sported one of the best Venus elongations of these years, which provided for excellent observing conditions in the early evening. Of course I couldn’t pass up this opportunity, so with good weather also on my side, I pointed my telescopes at the shining planet on several evenings. My imaging times ranged from mid-afternoon when the Sun was still up, until about one hour after sunset, before Venus got too low above the horizon. It was the first time I took Venus imaging really seriously.
As we all know, Venus is the brightest planet and looks like a very bright star. It is surrounded by a very thick layer of white clouds giving the planet a very high albedo, which causes most incoming light to be reflected off the surface across almost all wavelengths, hence its dazzling brightness and lack of contrast. Consequently, no significant detail is visible to the observer’s eye.
There is one exception though: for reasons that are still unclear, some layers of Venus’s clouds absorb light in the near UV band, between 300 and 400 nm wavelength. This in theory would make it possible to distinguish some cloud bands: trouble is, the human eye is totally blind to this part of the spectrum, so some special equipment must be used, consisting of a UV-sensitive camera and a UV filter which greatly increases contrast.
UV imaging poses some challenges:
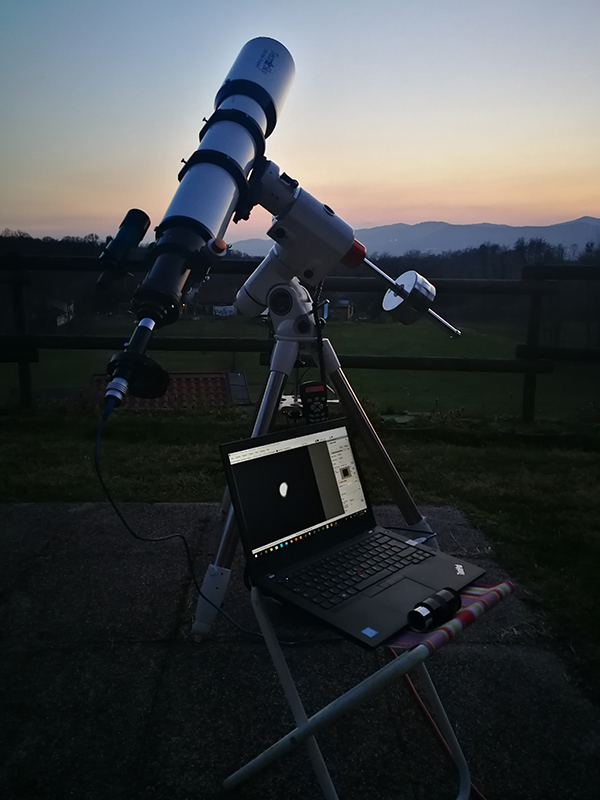
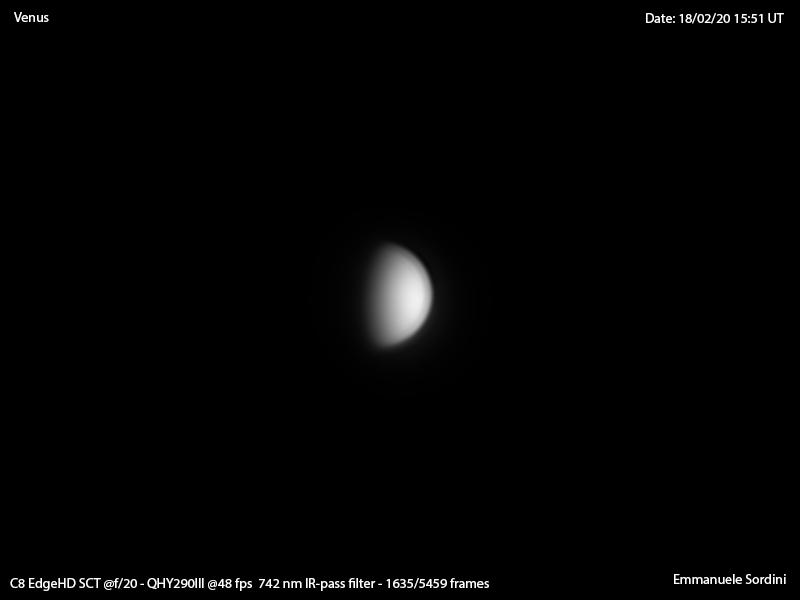
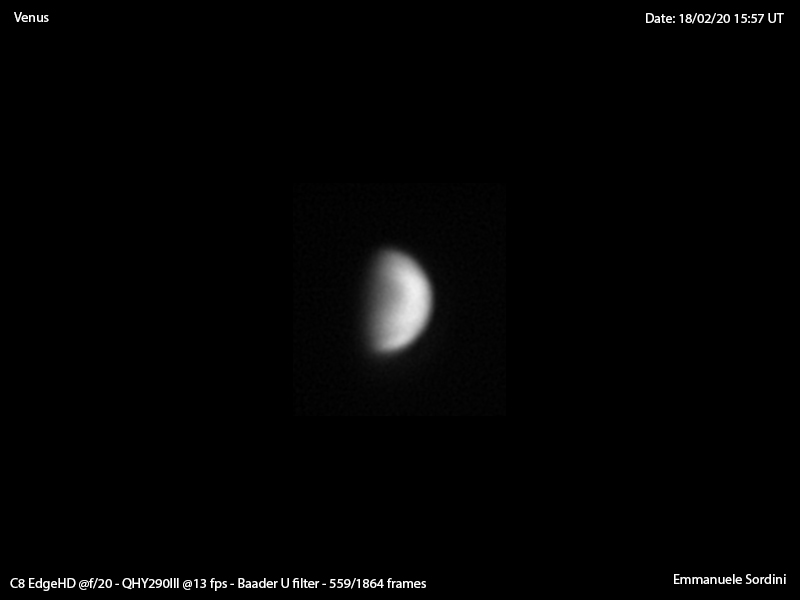
I mainly used two optical tubes for Venus imaging: an 8-inch EdgeHD Schmidt-Cassegrain (20 cm f/10) and a 130/910 mm TS (Tecnosky) refractor, together with an uncooled QHY290 camera and two filters, a Planet IR Pro from Astronomik (742 nm IR-pass) and a Baader U, an UV filter with a bandpass ranging from 320 to 380 nm. In order to extend the native focal lengths, I used three different barlow lenses: a 2x Orion Shorty Plus, a 2.5x Televue Powermate, and a 3x Televue Barlow lens.
There’s a couple more reasons that make dual band imaging even more challenging:
On the bright side, Venus’s very long rotation period (200+ days) and the slow changing rate of its cloud patterns allow for acquiring clips of several minutes in length without significant loss of detail (which is not the case with Jupiter, Saturn, and to a lesser degree, Mars). I used Firecapture and SharpCap for acquisition, while the footage acquired was processed with PIPP, Autostakkert, Registax and Adobe Photoshop.
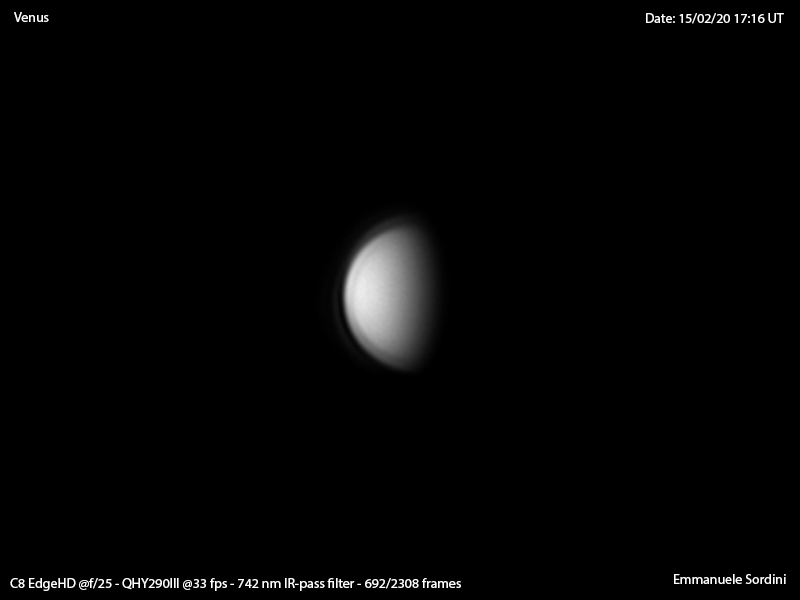
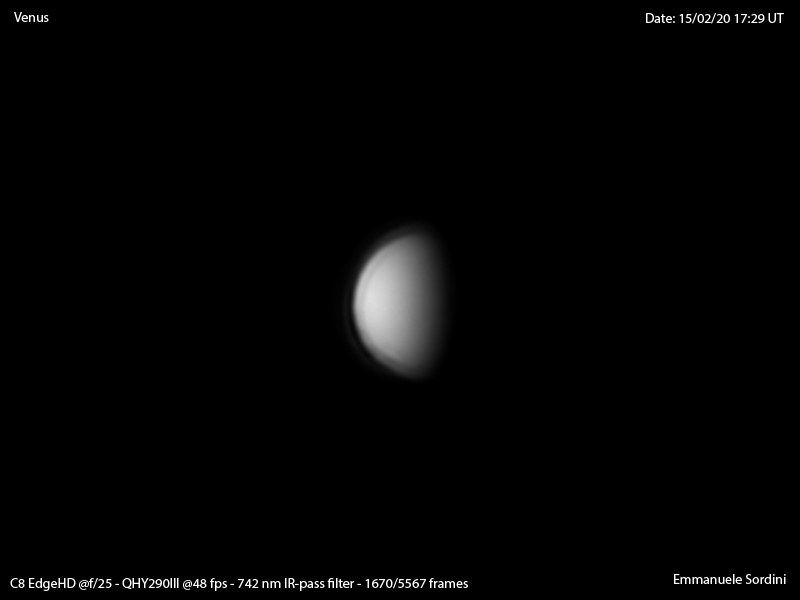
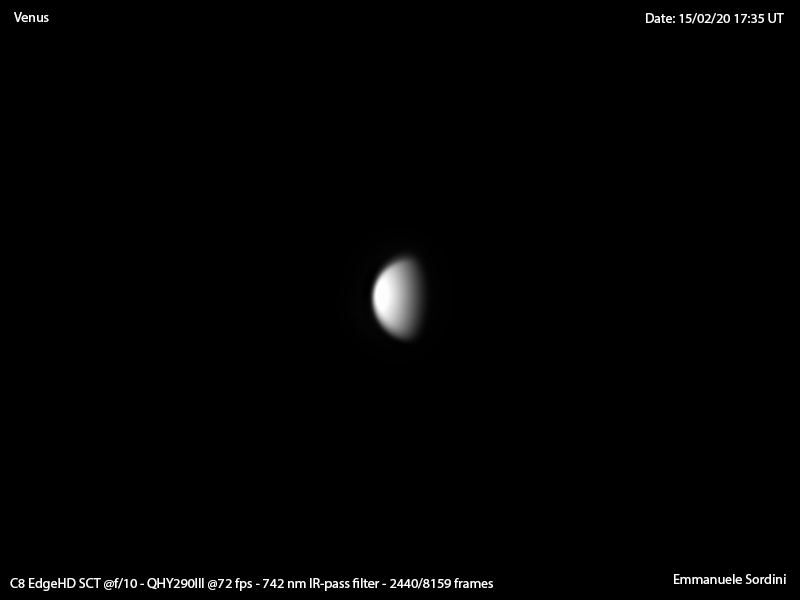
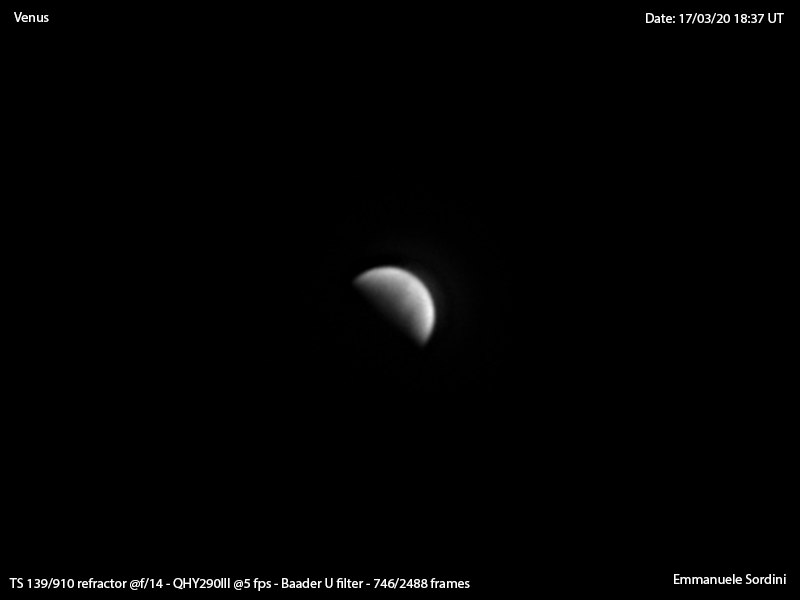
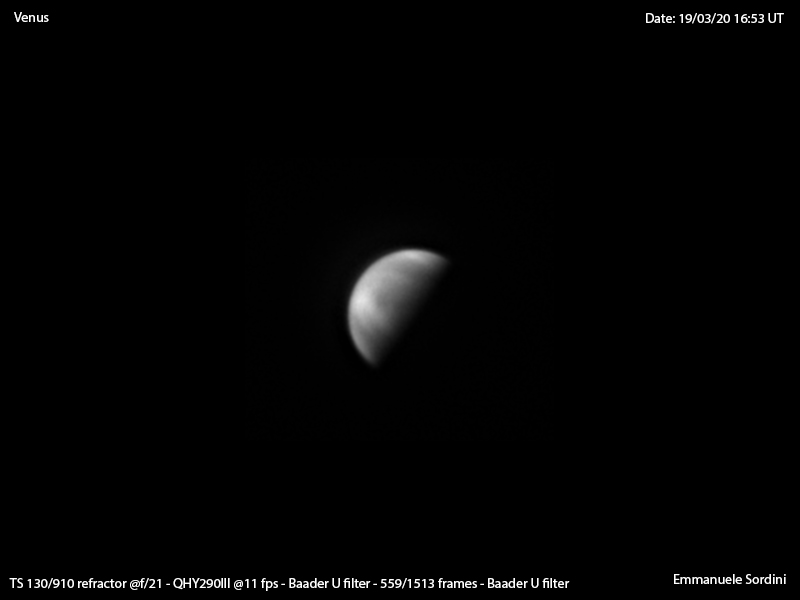
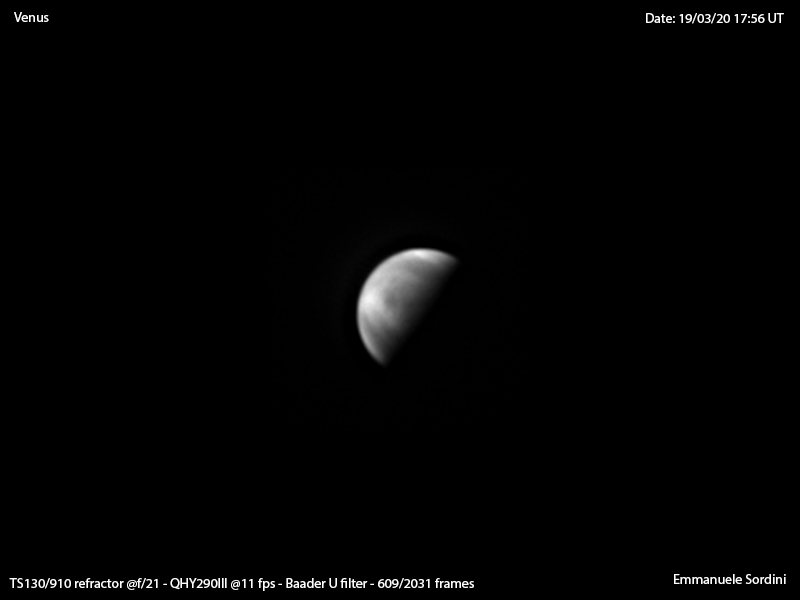
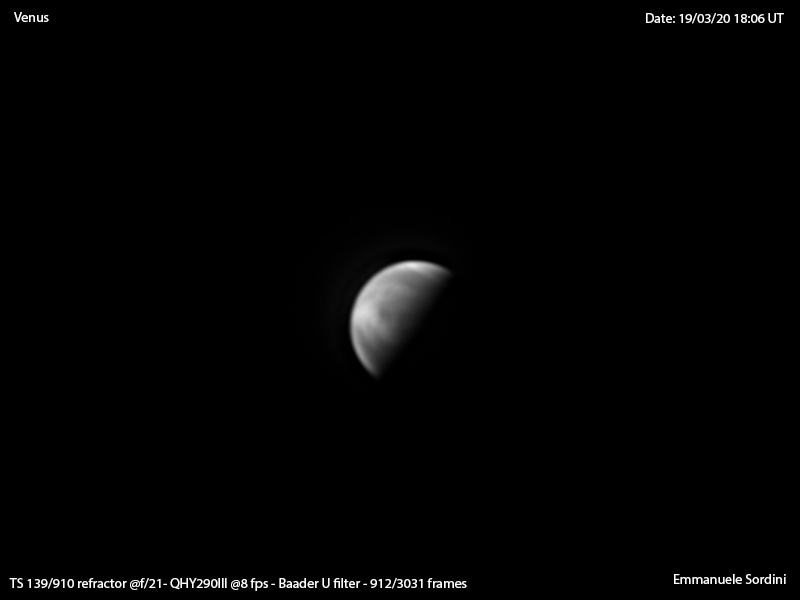
Below is a selection of my best shots. Check them out, then we’ll draw some conclusions. All imaging details in the individual captions.
The first remark is that Venus shows no significant details in the IR band as expected. The cloud layers reflecting in the IR band are not the same as those absorbing UV, therefore we can say that narrowband imaging allows us to detect two different cloud layers of the planet’s atmosphere.
The second remark is that my best UV shots were acquired through my 130 mm refractor rather than with my 20 cm SCT, whose 7 cm bigger aperture would in theory yield better results. I have two possible explanations for this:
One important takeaway from this experience: the less glass in your optical train, the better! This statement holds always true, but in my opinion even more so when imaging in the UV band. One night I used my 130 mm refractor, I got way better image quality once I removed the field flattener normally used for deep-sky imaging. My hunch is that a good quality Newtonian or a Cassegrain reflector (without any corrector lenses) will likely yield the best results, because these optical configurations do not require any refractive elements.
Although much better images can be found out there in the Internet, I think my perseverance paid off, allowing me to snap my first ever shots of Venus’s elusive clouds!![]()

Leave a comment